The Installation Process: Faster Than You Think
One of the biggest advantages of precast concrete over traditional block walls is installation speed. What takes a mason crew 2-4 weeks, our team completes in 1-3 days. Here's how:
Step 1: Free On-Site Consultation
Before any work begins, our project manager visits your property to:
- Measure the exact perimeter and note terrain conditions
- Identify underground utilities (we call 811 for utility marking)
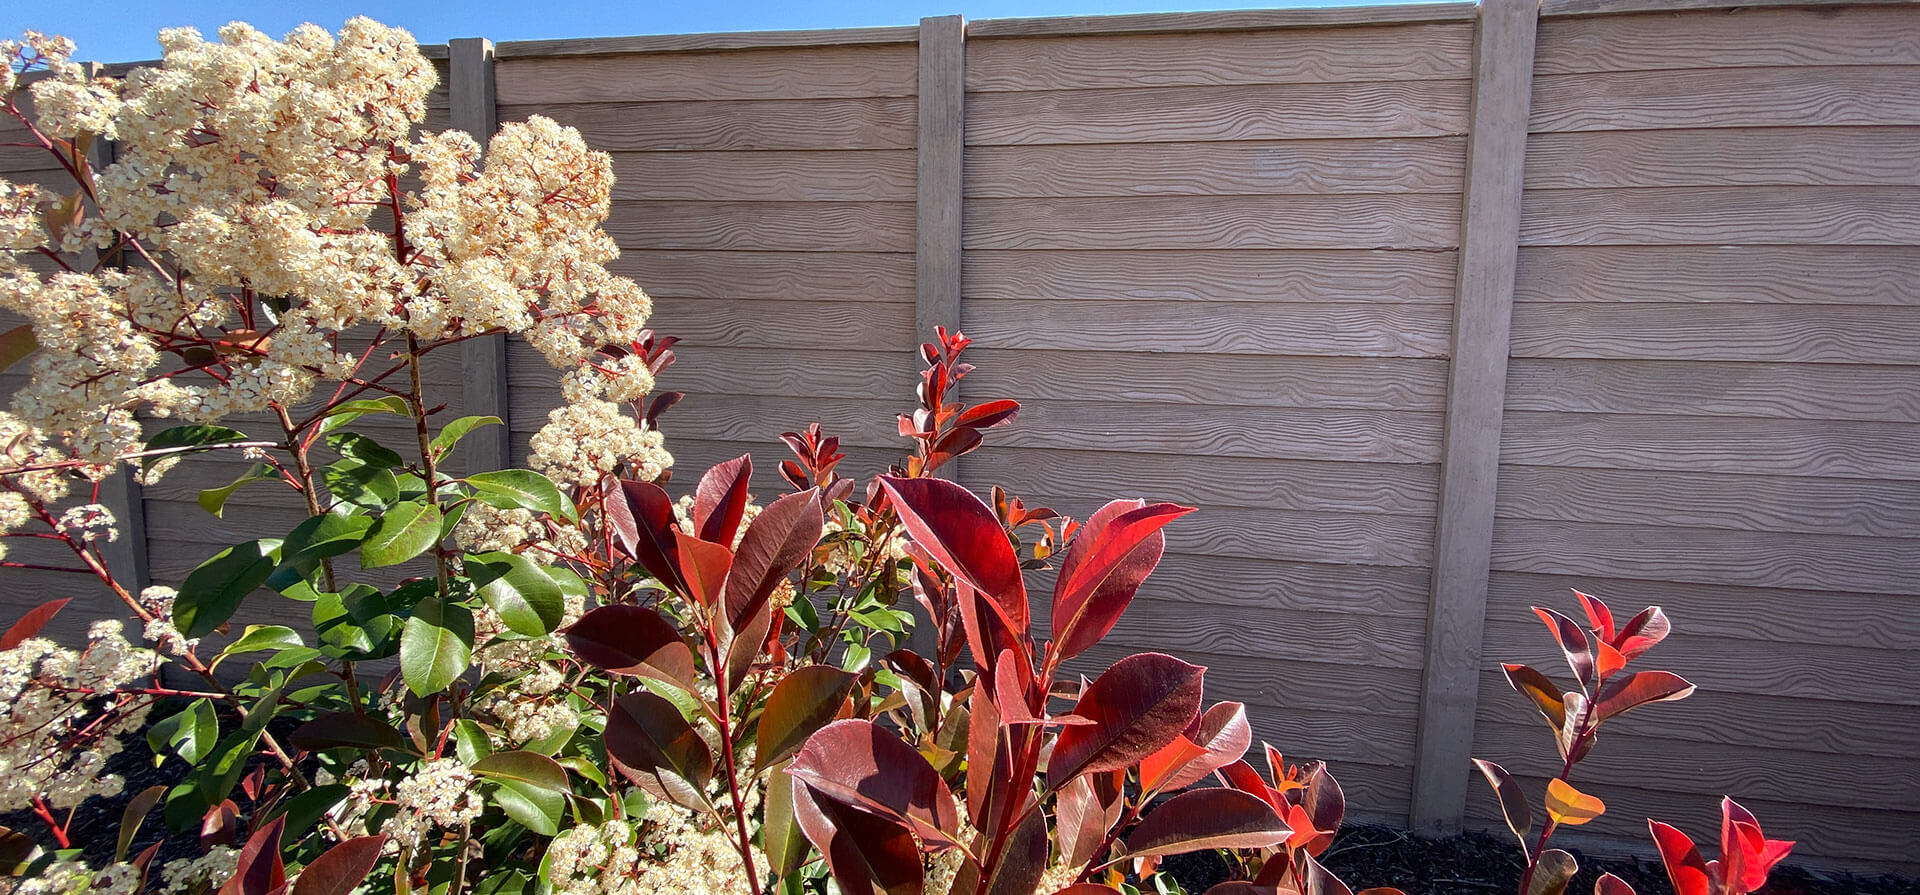
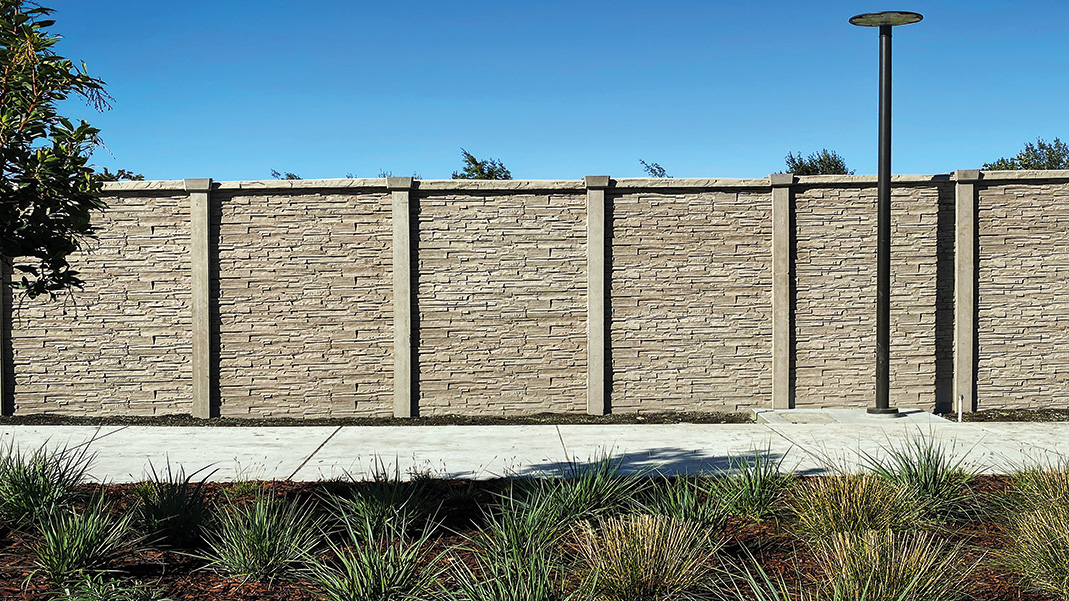
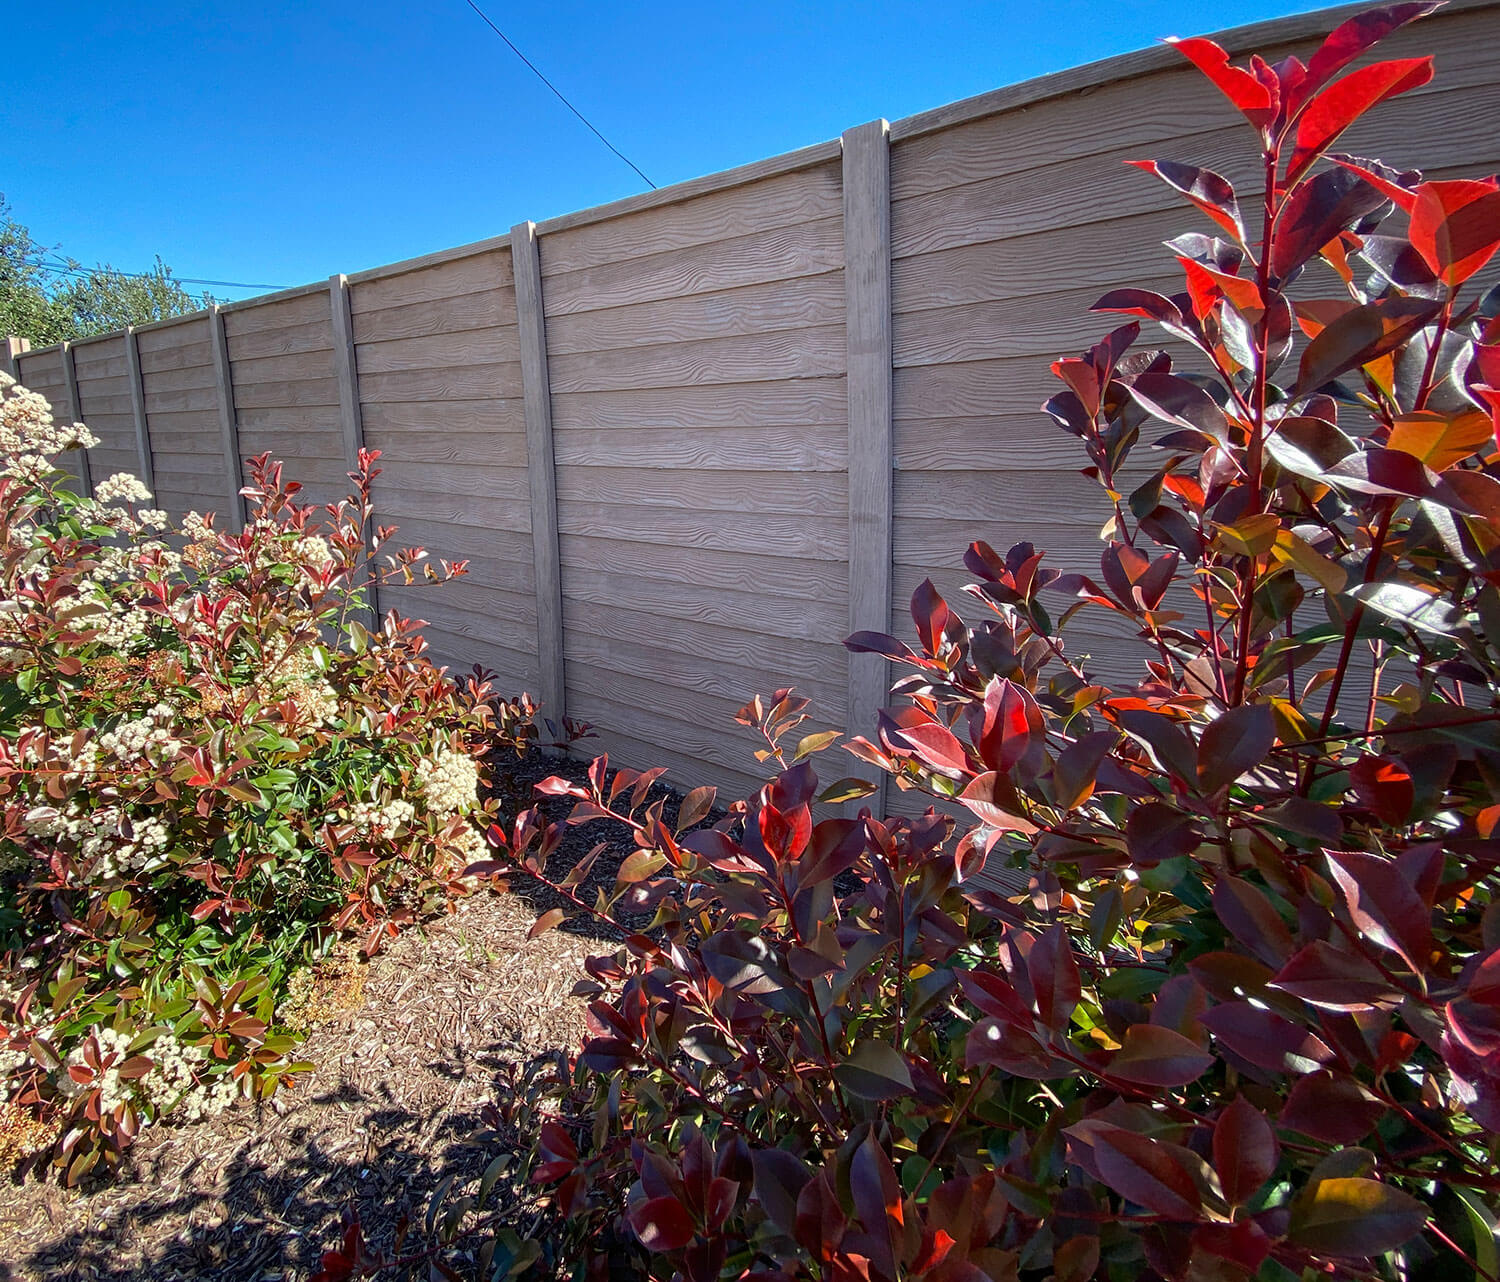
- Discuss product options and help you choose the right texture
- Assess access for delivery trucks and equipment
- Provide a detailed written estimate — typically within 48 hours
Step 2: Permits & Preparation
We handle all permit applications with your local building department. Most California jurisdictions require permits for fences over 6 feet or in certain zones. Our team knows the requirements for every city we serve.
Step 3: Post Hole Drilling
On installation day, we begin by drilling post holes at precise intervals (typically 8 feet on center). Holes are drilled to a depth of 36-42 inches, depending on fence height and soil conditions. This is the foundation of your fence's structural integrity.
Step 4: Steel Post Setting
Galvanized steel H-posts are set into the holes and secured with concrete footings. Posts are leveled and aligned using laser equipment to ensure a perfectly straight fence line. The concrete footings cure while we prepare the panels.
Step 5: Panel Installation
This is where the magic happens. Pre-cast concrete panels — manufactured in our factory to your chosen texture and dimensions — are slid into the channels of the H-posts. Each panel weighs 300-500 pounds and is positioned using specialized equipment.
The panel-and-post system is interlocking, meaning panels are held in place by gravity and the post channels. No mortar, no adhesive, no curing time. Once a panel is in place, it's done.
Step 6: Finishing Touches
After all panels are set, our crew:
- Installs post caps for a finished look
- Sets gates (if included in your project)
- Grades soil along the fence base for clean appearance
- Cleans up all debris and equipment
Step 7: Final Inspection
Our project manager conducts a final walkthrough with you to ensure everything meets your expectations. We also schedule any required building department inspections.
Timeline Summary
| Phase | Duration |
|---|---|
| Consultation & estimate | 1-2 days |
| Permits (if required) | 1-3 weeks |
| Panel manufacturing | 1-2 weeks |
| On-site installation | 1-3 days |
| Final inspection | Same day or next day |
From signed contract to finished fence, most residential projects are complete in 3-4 weeks — with only 1-3 days of actual work on your property.
Ready to get started? Request your free on-site consultation today.
Ready to Get Started?
Get a free, no-obligation estimate for your precast concrete fence project. Our team will visit your property, take measurements, and provide a detailed quote within 48 hours.